cPanel Setup Guide
LaraPass v2 Setup Guide for a cPanel Powered Host.
Sign Up
If you don't already have one, you can sign-up for a cheaper cPanel Shared Hosting from A2Hosting
{info} LaraPass v2 will work perfectly on a Shared Hosting server, however if your hosting, provider has certain limitations on permissions or forces public_html directory for all, then the Auto-Updater may not be able to perform, as such, we recommend using a VPS instead of Shared Hosting.
Setting up cPanel
Login to your cPanel Host account (usually available at the url address yourdomain.com:2082 ).
+ Step # 1 - Navigate to the Domains, Addon Domains or Sub-domains (depending on which type of domain you want to use. For this example we will be using a sub-domain, so click on the Sub-Domains Page in your cPanel (the proceedure is almost same for all types of domains).
+ Step # 2 - Pick a new subdomain, in our case we will be testing with demo
+ Step # 3 - Select a domain, in our case its larapass.net, so the full url of our demo app will be demo.larapass.net

+ Step # 4 - Ensure that the Document Root is pointing towards /larapass/public directory and under Redirect it says not redirected.

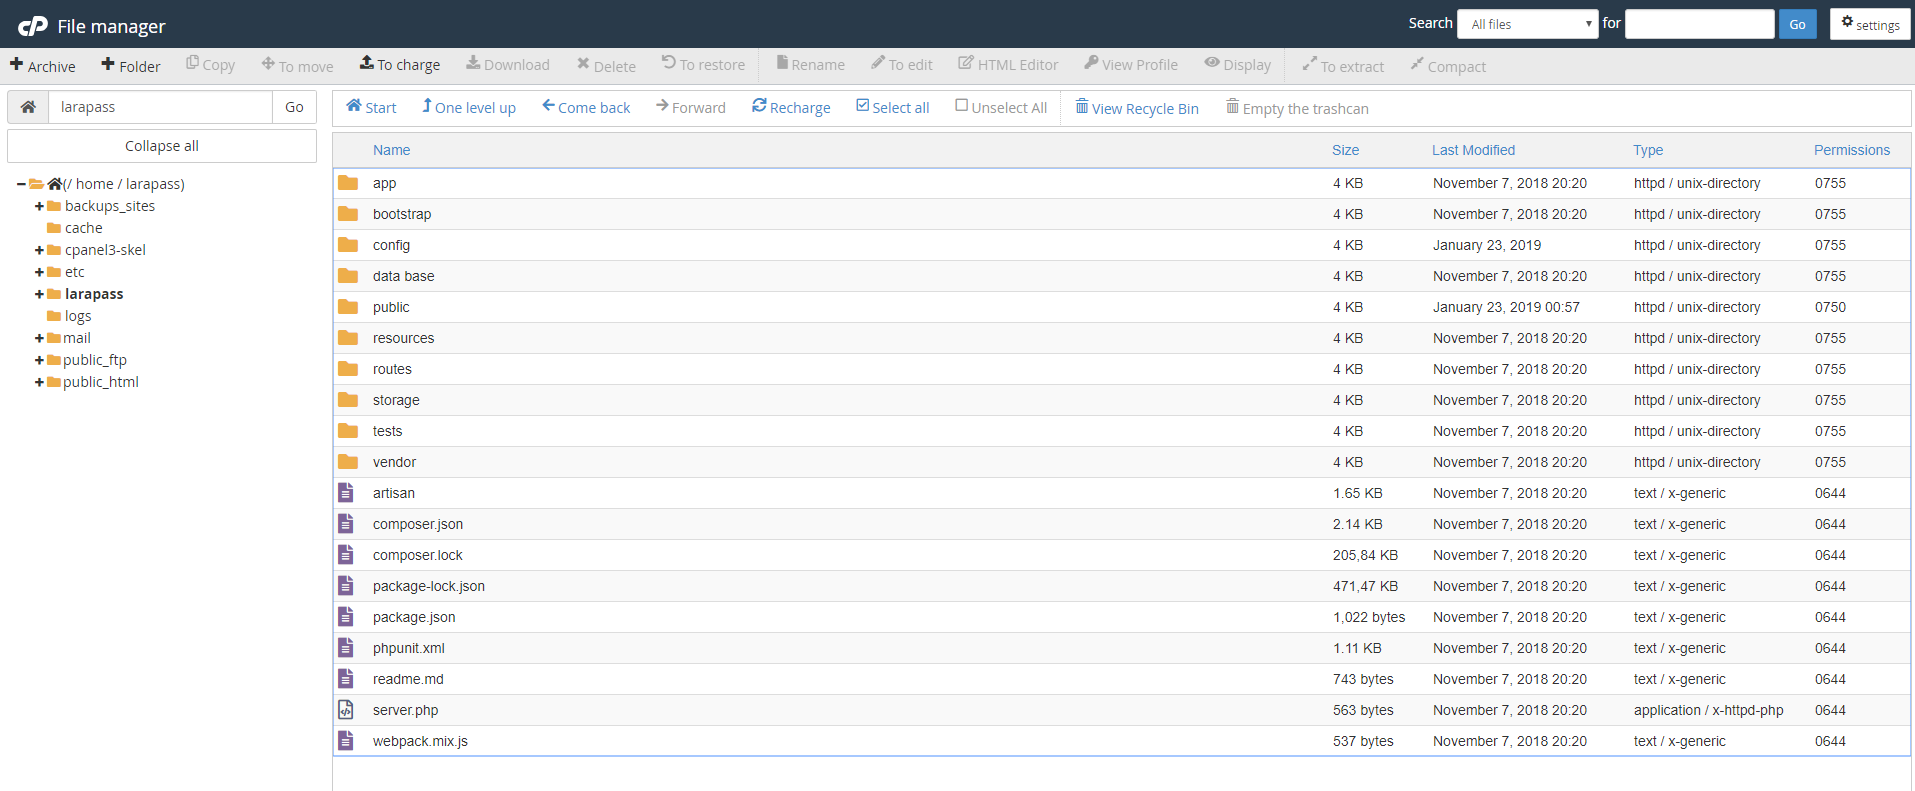
+ Step # 5 - Open File Manager in cPanel or login to your server using an FTP program such as FileZilla or CyberDuck. Navigate to the root directory. Create a new folder with the name larapass if it doesn't already exists. If it already exists, then open it and delete all the files inside.

+ Step # 6 - Extract all the files from the larapass_source.zip file you received from us or downloaded from codecanyon and upload all the extracted files into the larapass folder on your server.

+ Step # 7 - And you are done. Create a Database in the next step and navigate to your site.
Create Database
Before you can proceed with the installation, you need to create a MySQL Database. To do this,
+ Step # 1 - Open your cPanel. Open MySQL® Databases under Databases.
+ Step # 2 - Create a new database with a name of your choice.
 setup
setup
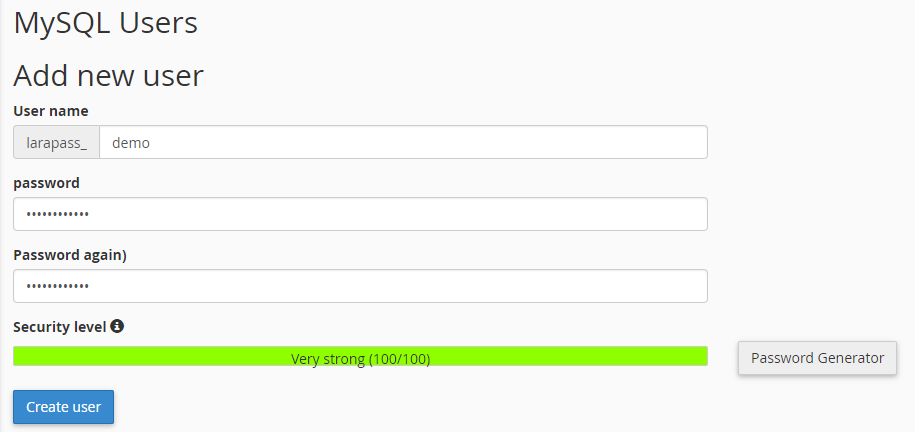
+ Step # 3 - Create a new database User (with a unique password).

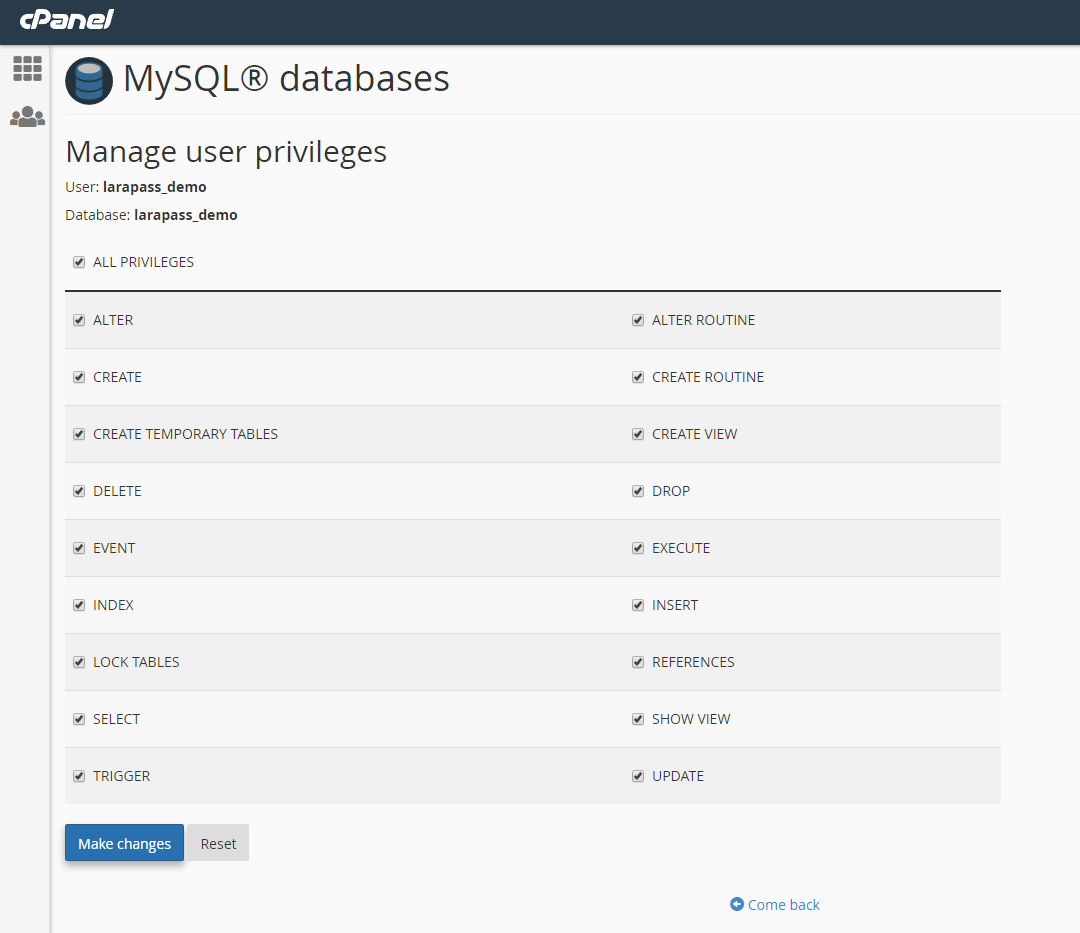
+ Step # 4 - Add the newly created user to the larapass database you just created and

+ Step # 5 - add ALL PRIVILIGES to that user -

{success} Note down the
Database Name,UsernameandPasswordto be used in the next step for Installation.
Installing LaraPass
Follow the instructions on the Installation page here.
Watch cPanel Setup Demo Video
Watch the demo of us setting up our cPanel account.

