Installation Overview
Detailed Installation Guide for LaraPass v2 Personal Version.
Downloading
Download all the files you get after purchasing Larapass from CodeCanyon (Envato).
{primary} Keep the License File (with License/Purchase Code) safely as you will need it to
activateLaraPass.
Extract all the files into a safe location. Also extract the laravel_source zip_file into a folder (it contains all the main files we will be uploading to our server).
Uploading
Open connection to your server using Bitvise SSH Client or CyberDuck or FileZilla
Navigate to the directory created for your domain. (Ex: for demo.larapass.net, the server creates the directory demo.larapass.net)
Upload all the files & folders you got from the larapass_source zip_file into the website directory.
{warning} Becareful not to miss any file or interrupt when uploading to server.
Installing
LaraPass v2 comes with a installer out of the box which helps you to easily install the LaraPass v2 app on any server with just few clicks.
{primary} Ensure your domain / sub-domain is pointing to the
/publicdirectory inside the larapass app folder. (ex: the domaindemo.larapass.netpoints to the directory =>demo.larapass.net/public
Step # 1 - Navigate to
 yourdomain.com (it will automatically open the installer if the app isnt installed yet)
 or
 yourdomain.com/admin/install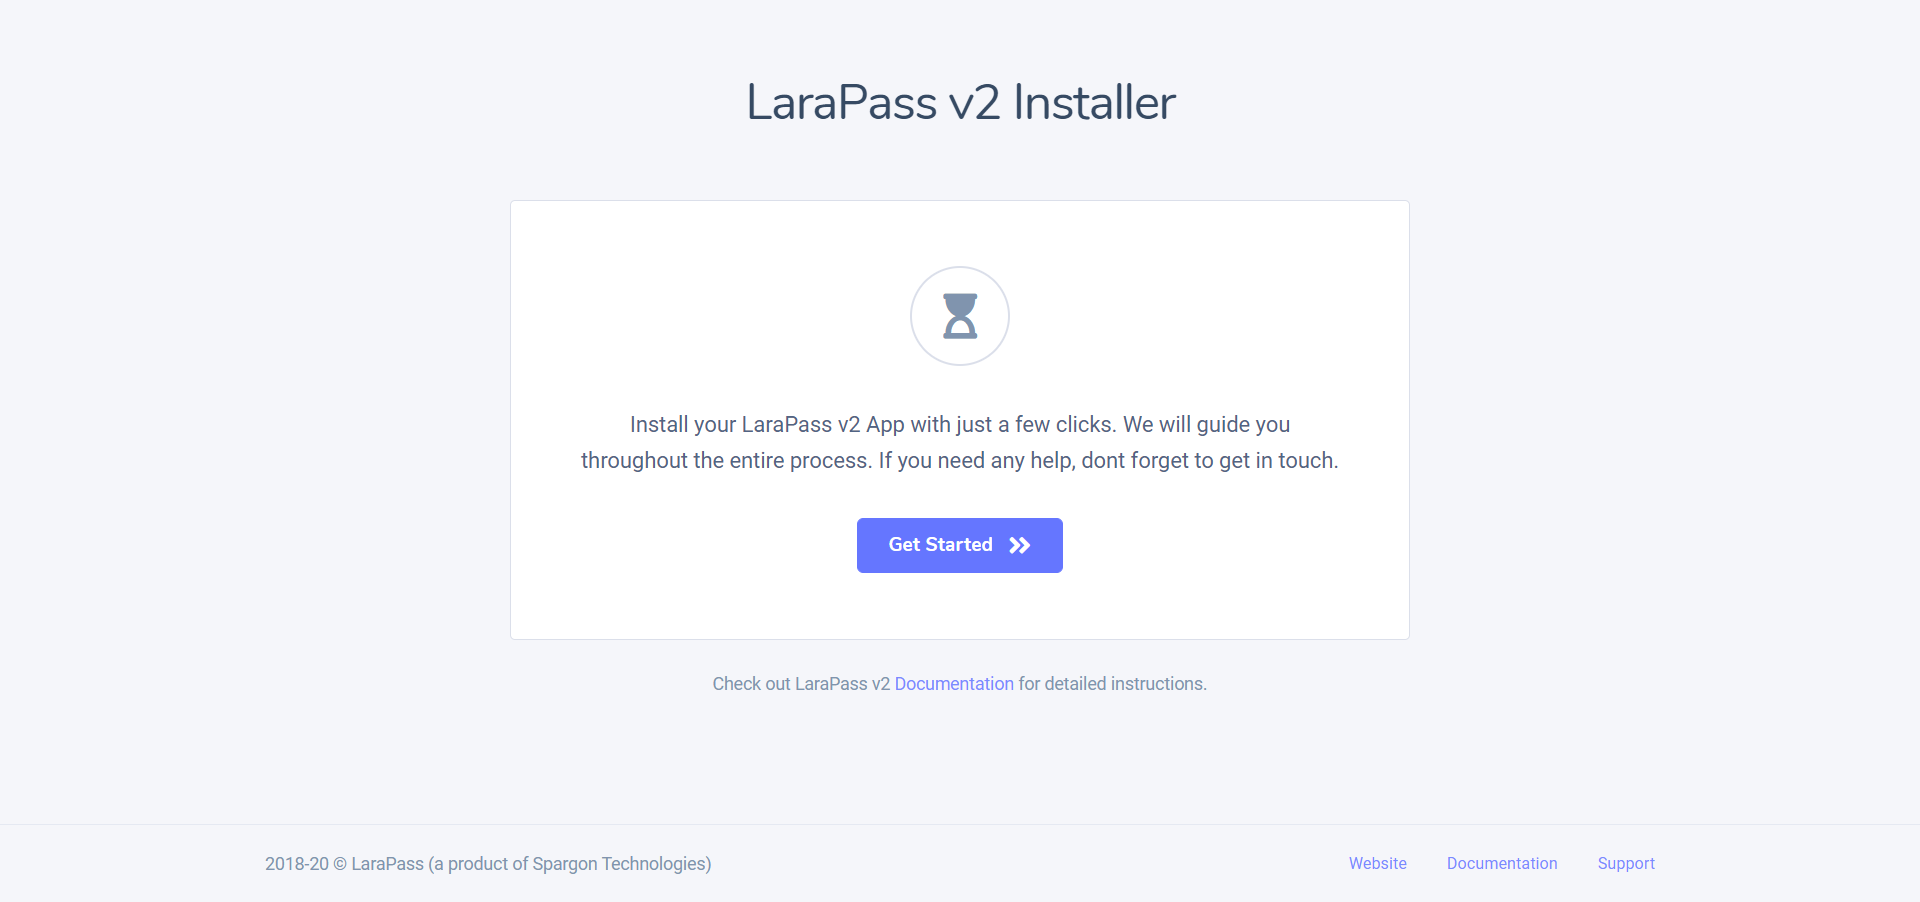
{info} It is recommended that you wait for your domain name dns to propagate and use
yourdomain.com/admin/installroute for installing and do use your server ip address to access.
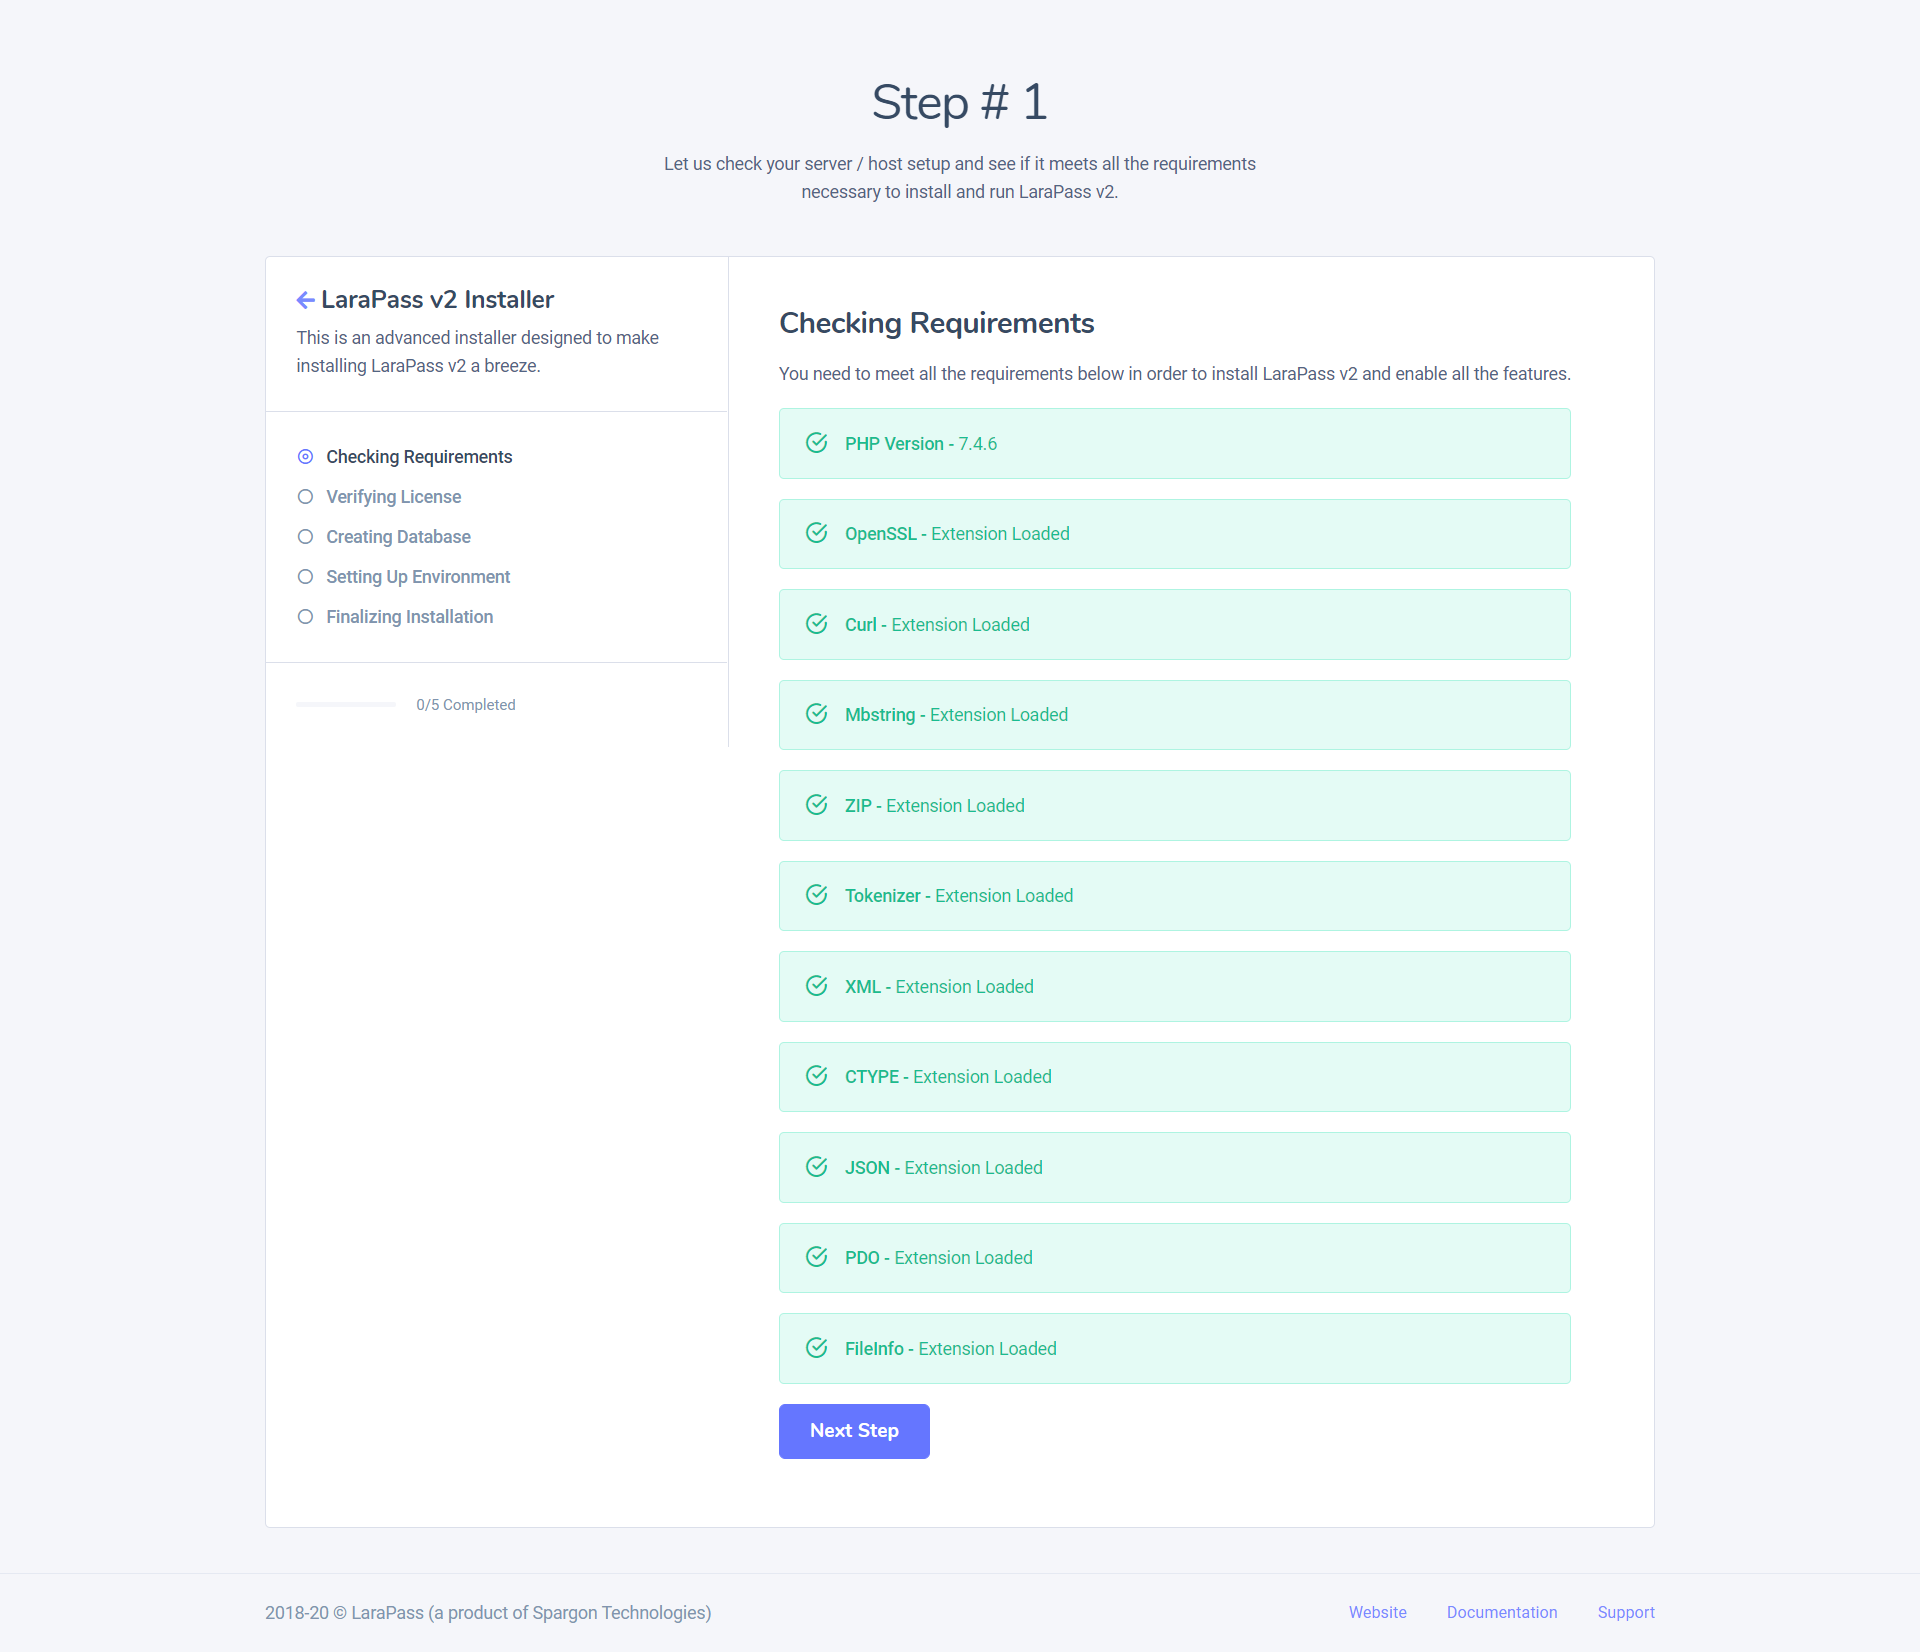
Step # 2 - If your server meets all the requirements for installing LaraPass v2, click on Next Step to proceed.
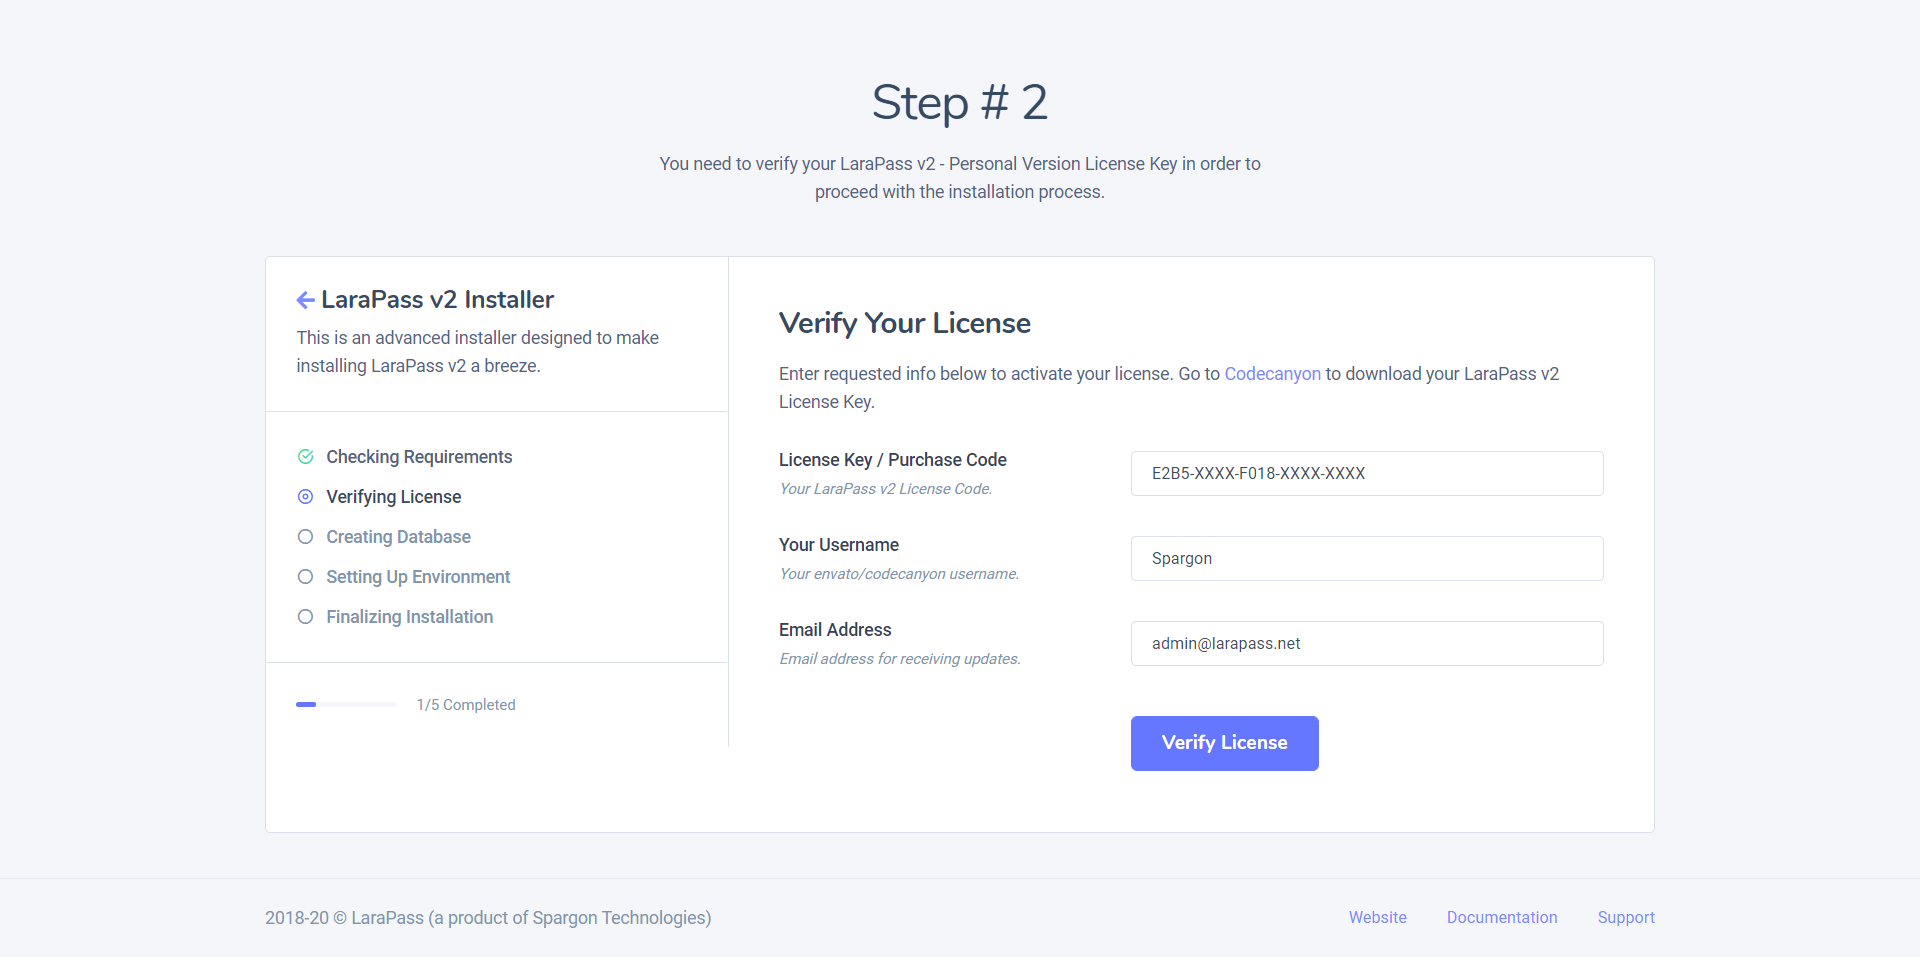
Step # 3 - Verify your LaraPass v2 Personal Version License by entering your License/Purchase Code and your Envato/Codecanyon Username & Clicking on Verify License
Step # 4 - Once your LaraPass v2 Personal Version License is verified, you will be asked to setup & migrate your Database. Add these details and click on Save Database:
1. Database Hostname : localhost or 127.0.0.1 (confirm with your hosting provider. Its the address that shows up in phpmyadmin)
2. Database Port : 3306
3. Database Name : larapass (or the name you used when creating the database in mysql)
4. Database Username : Username of the user you linked with the database in mysql
5. Database Password : Password of the user you linked with the database in mysql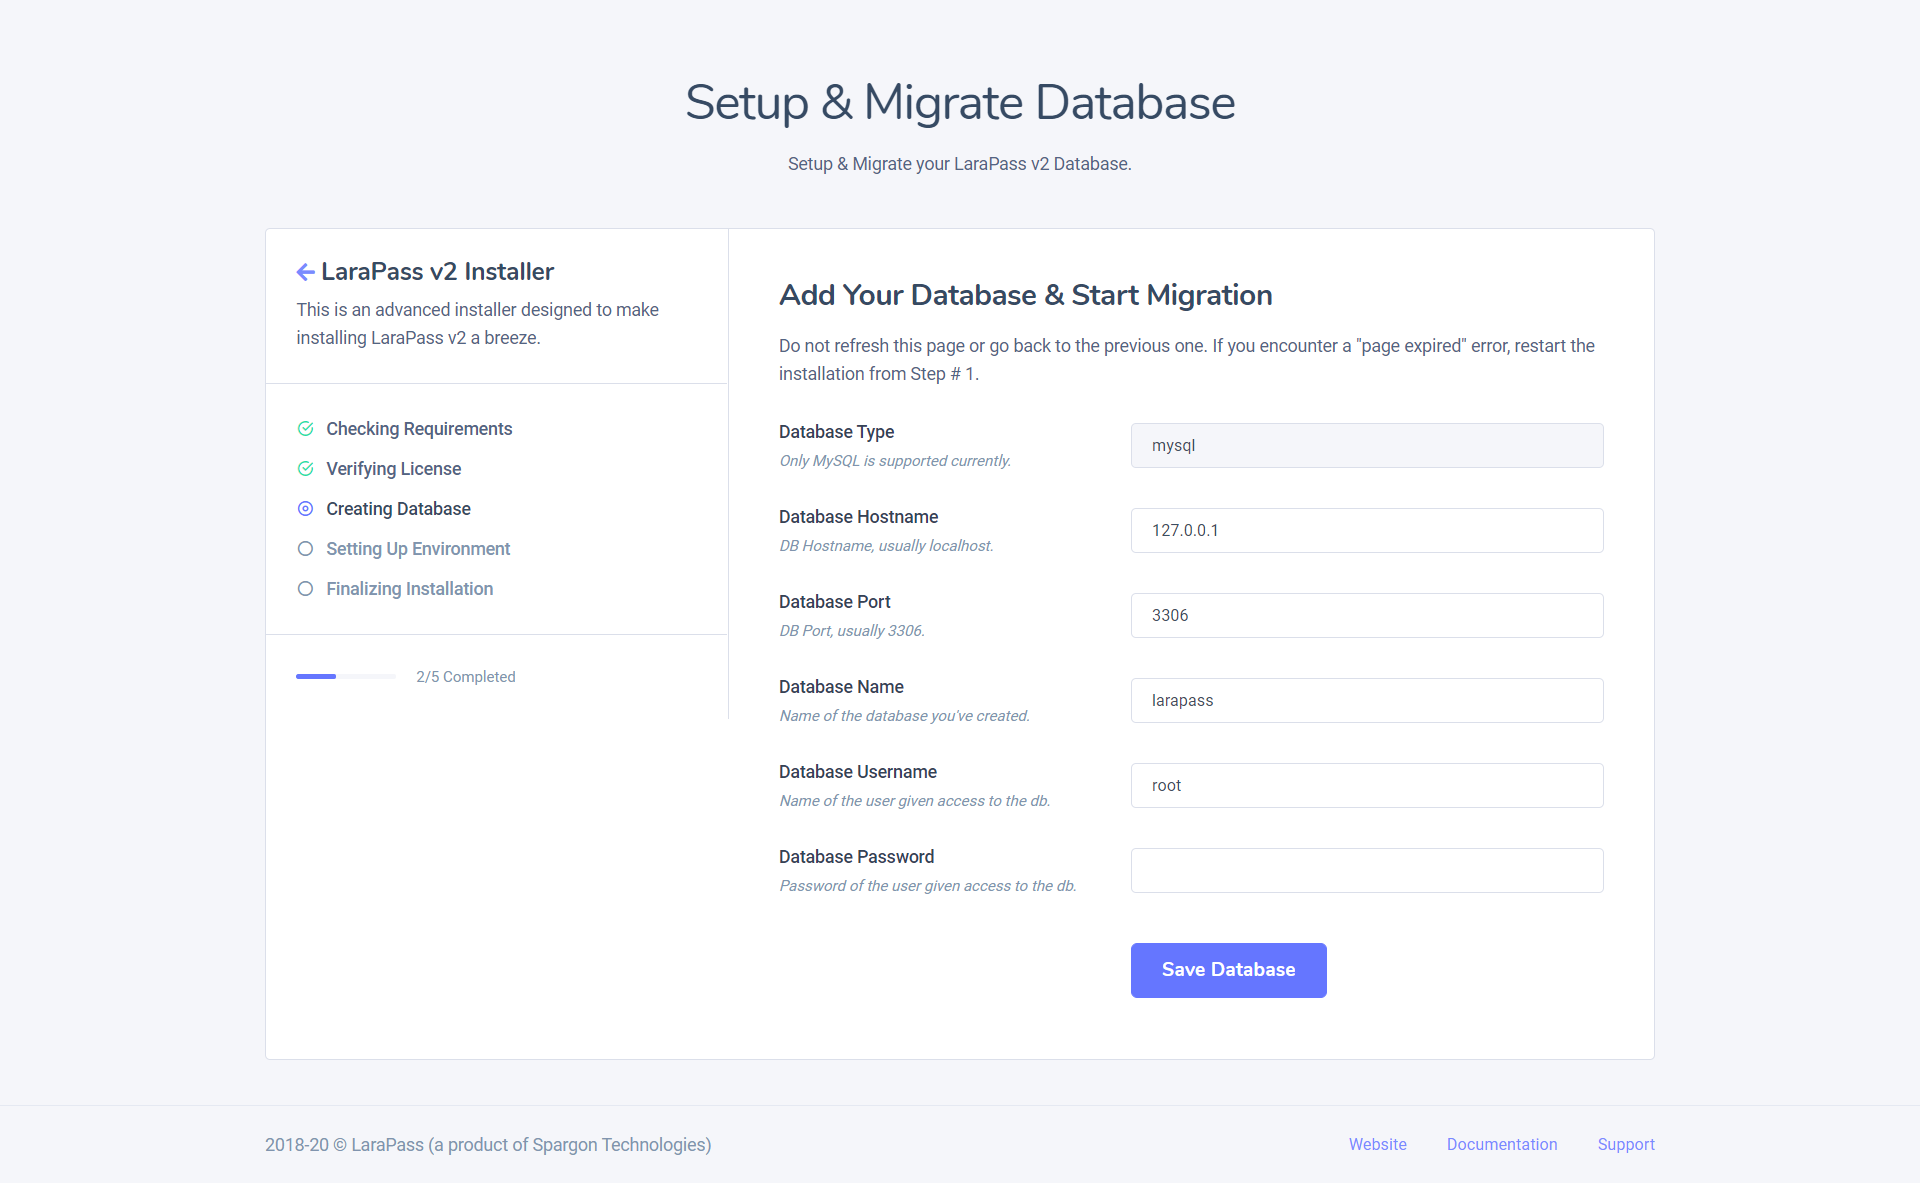
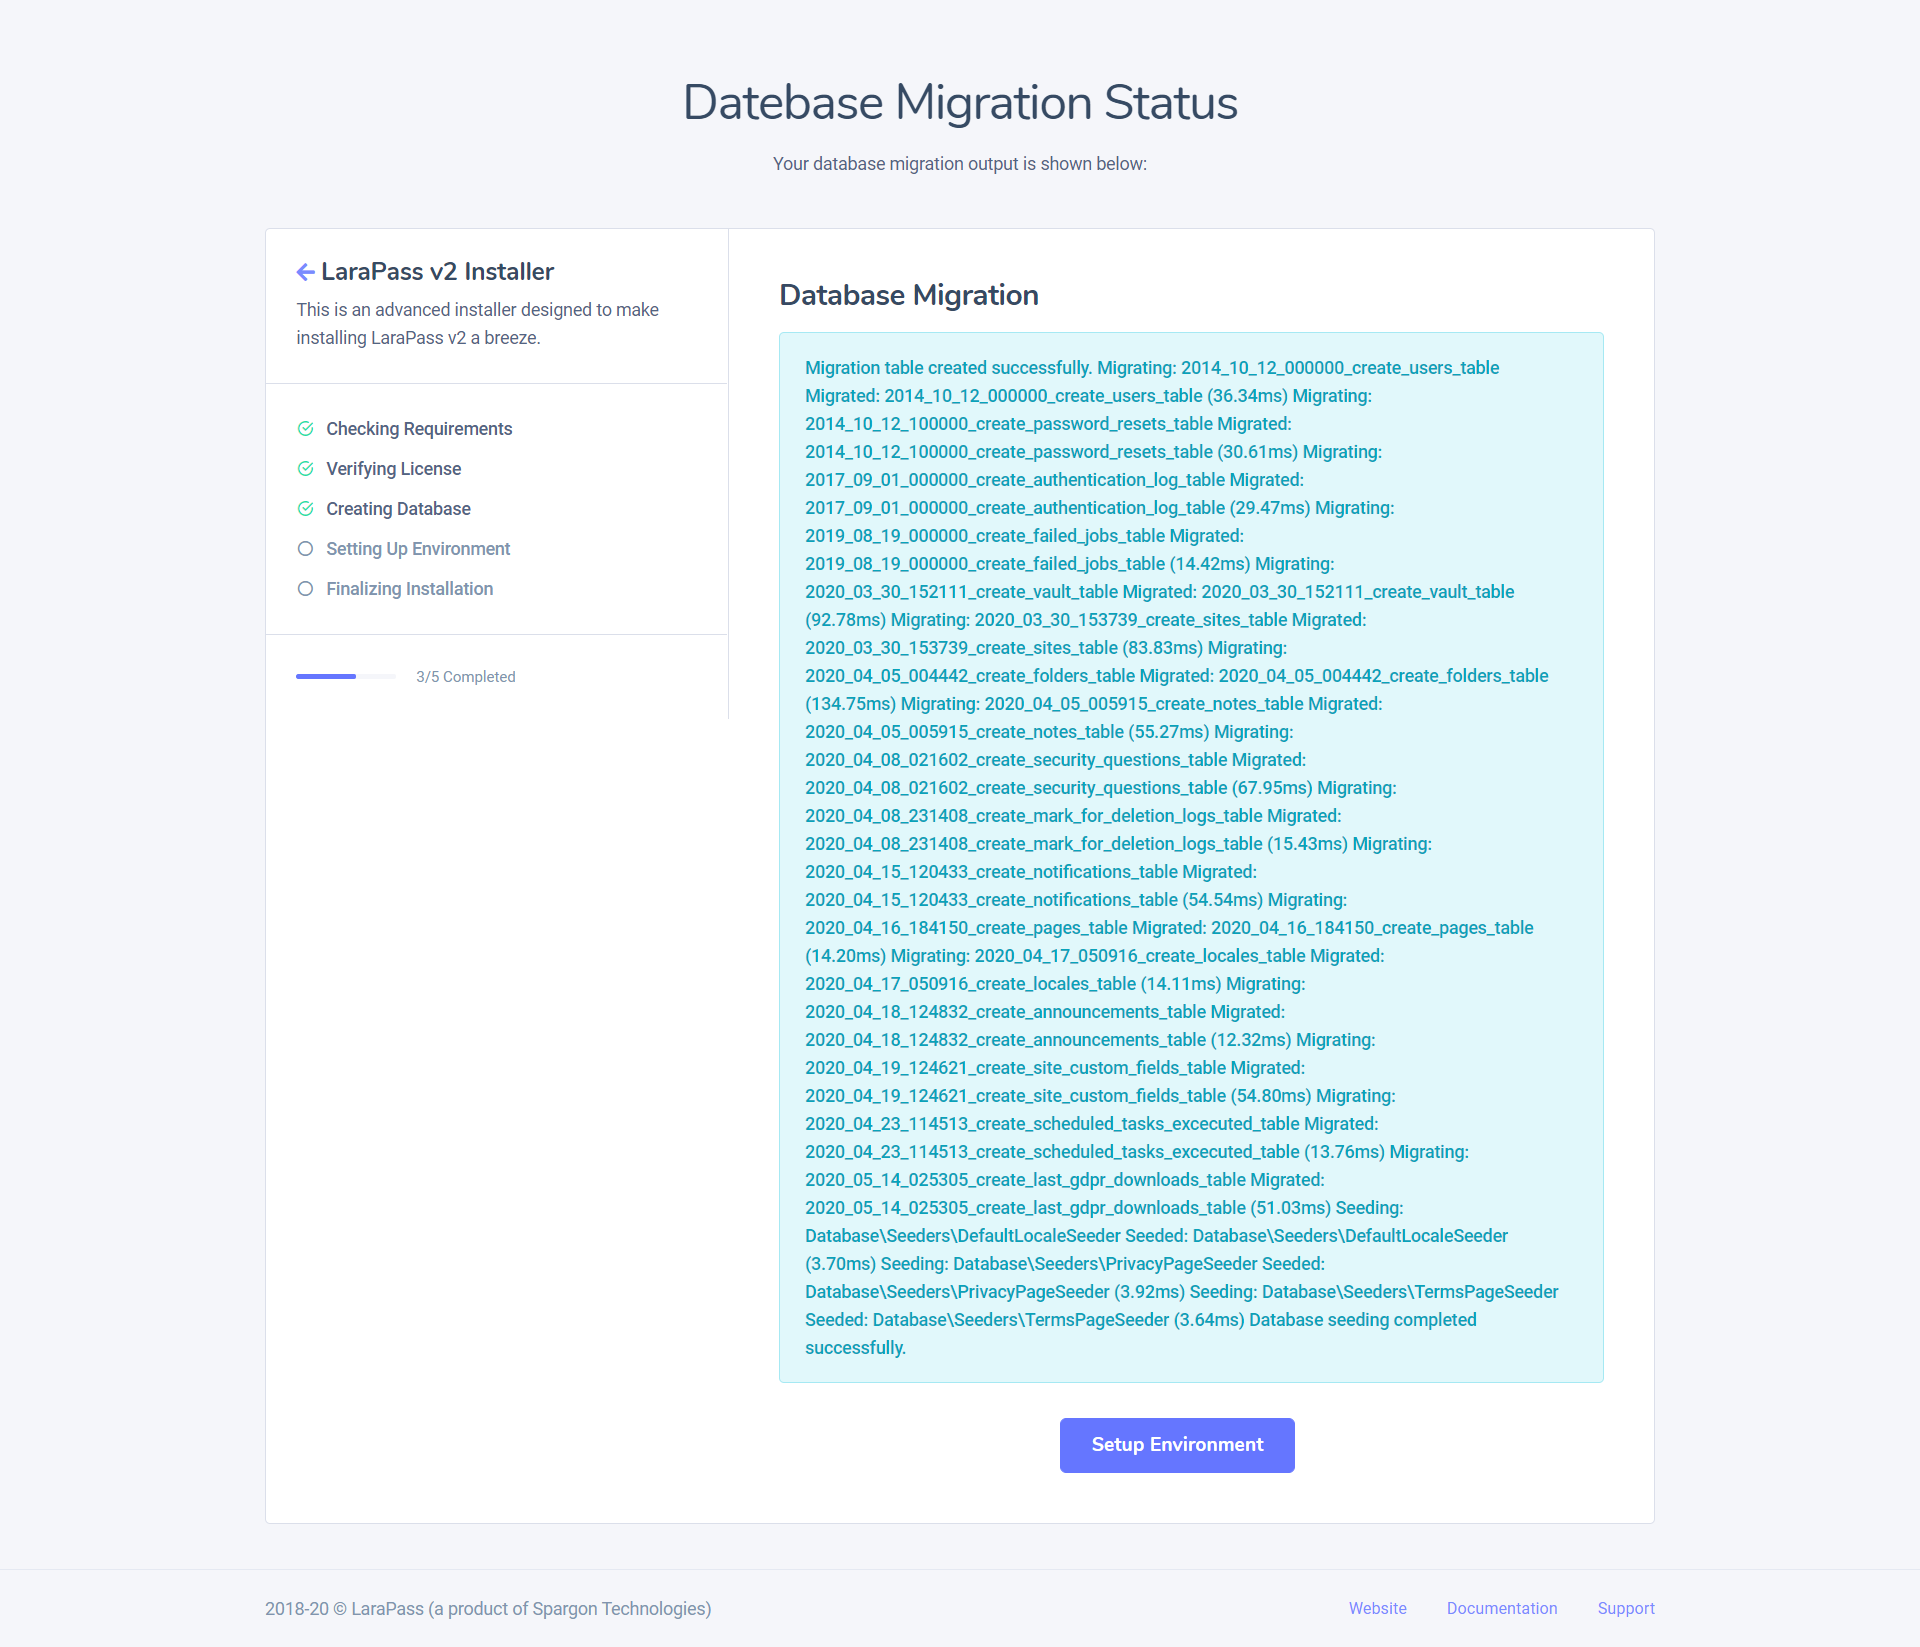
Step # 5 - You will get the option to Start Database Migration. Click on it, if the app is able to connect with your database, it will start the migration process and once its complete, will give you an output of all the migrated and seeder files, otherwise, if the app is unable to connect to the database, it will take you back to the database setup page and inform you of the error (invalid credentials, server down, etc).
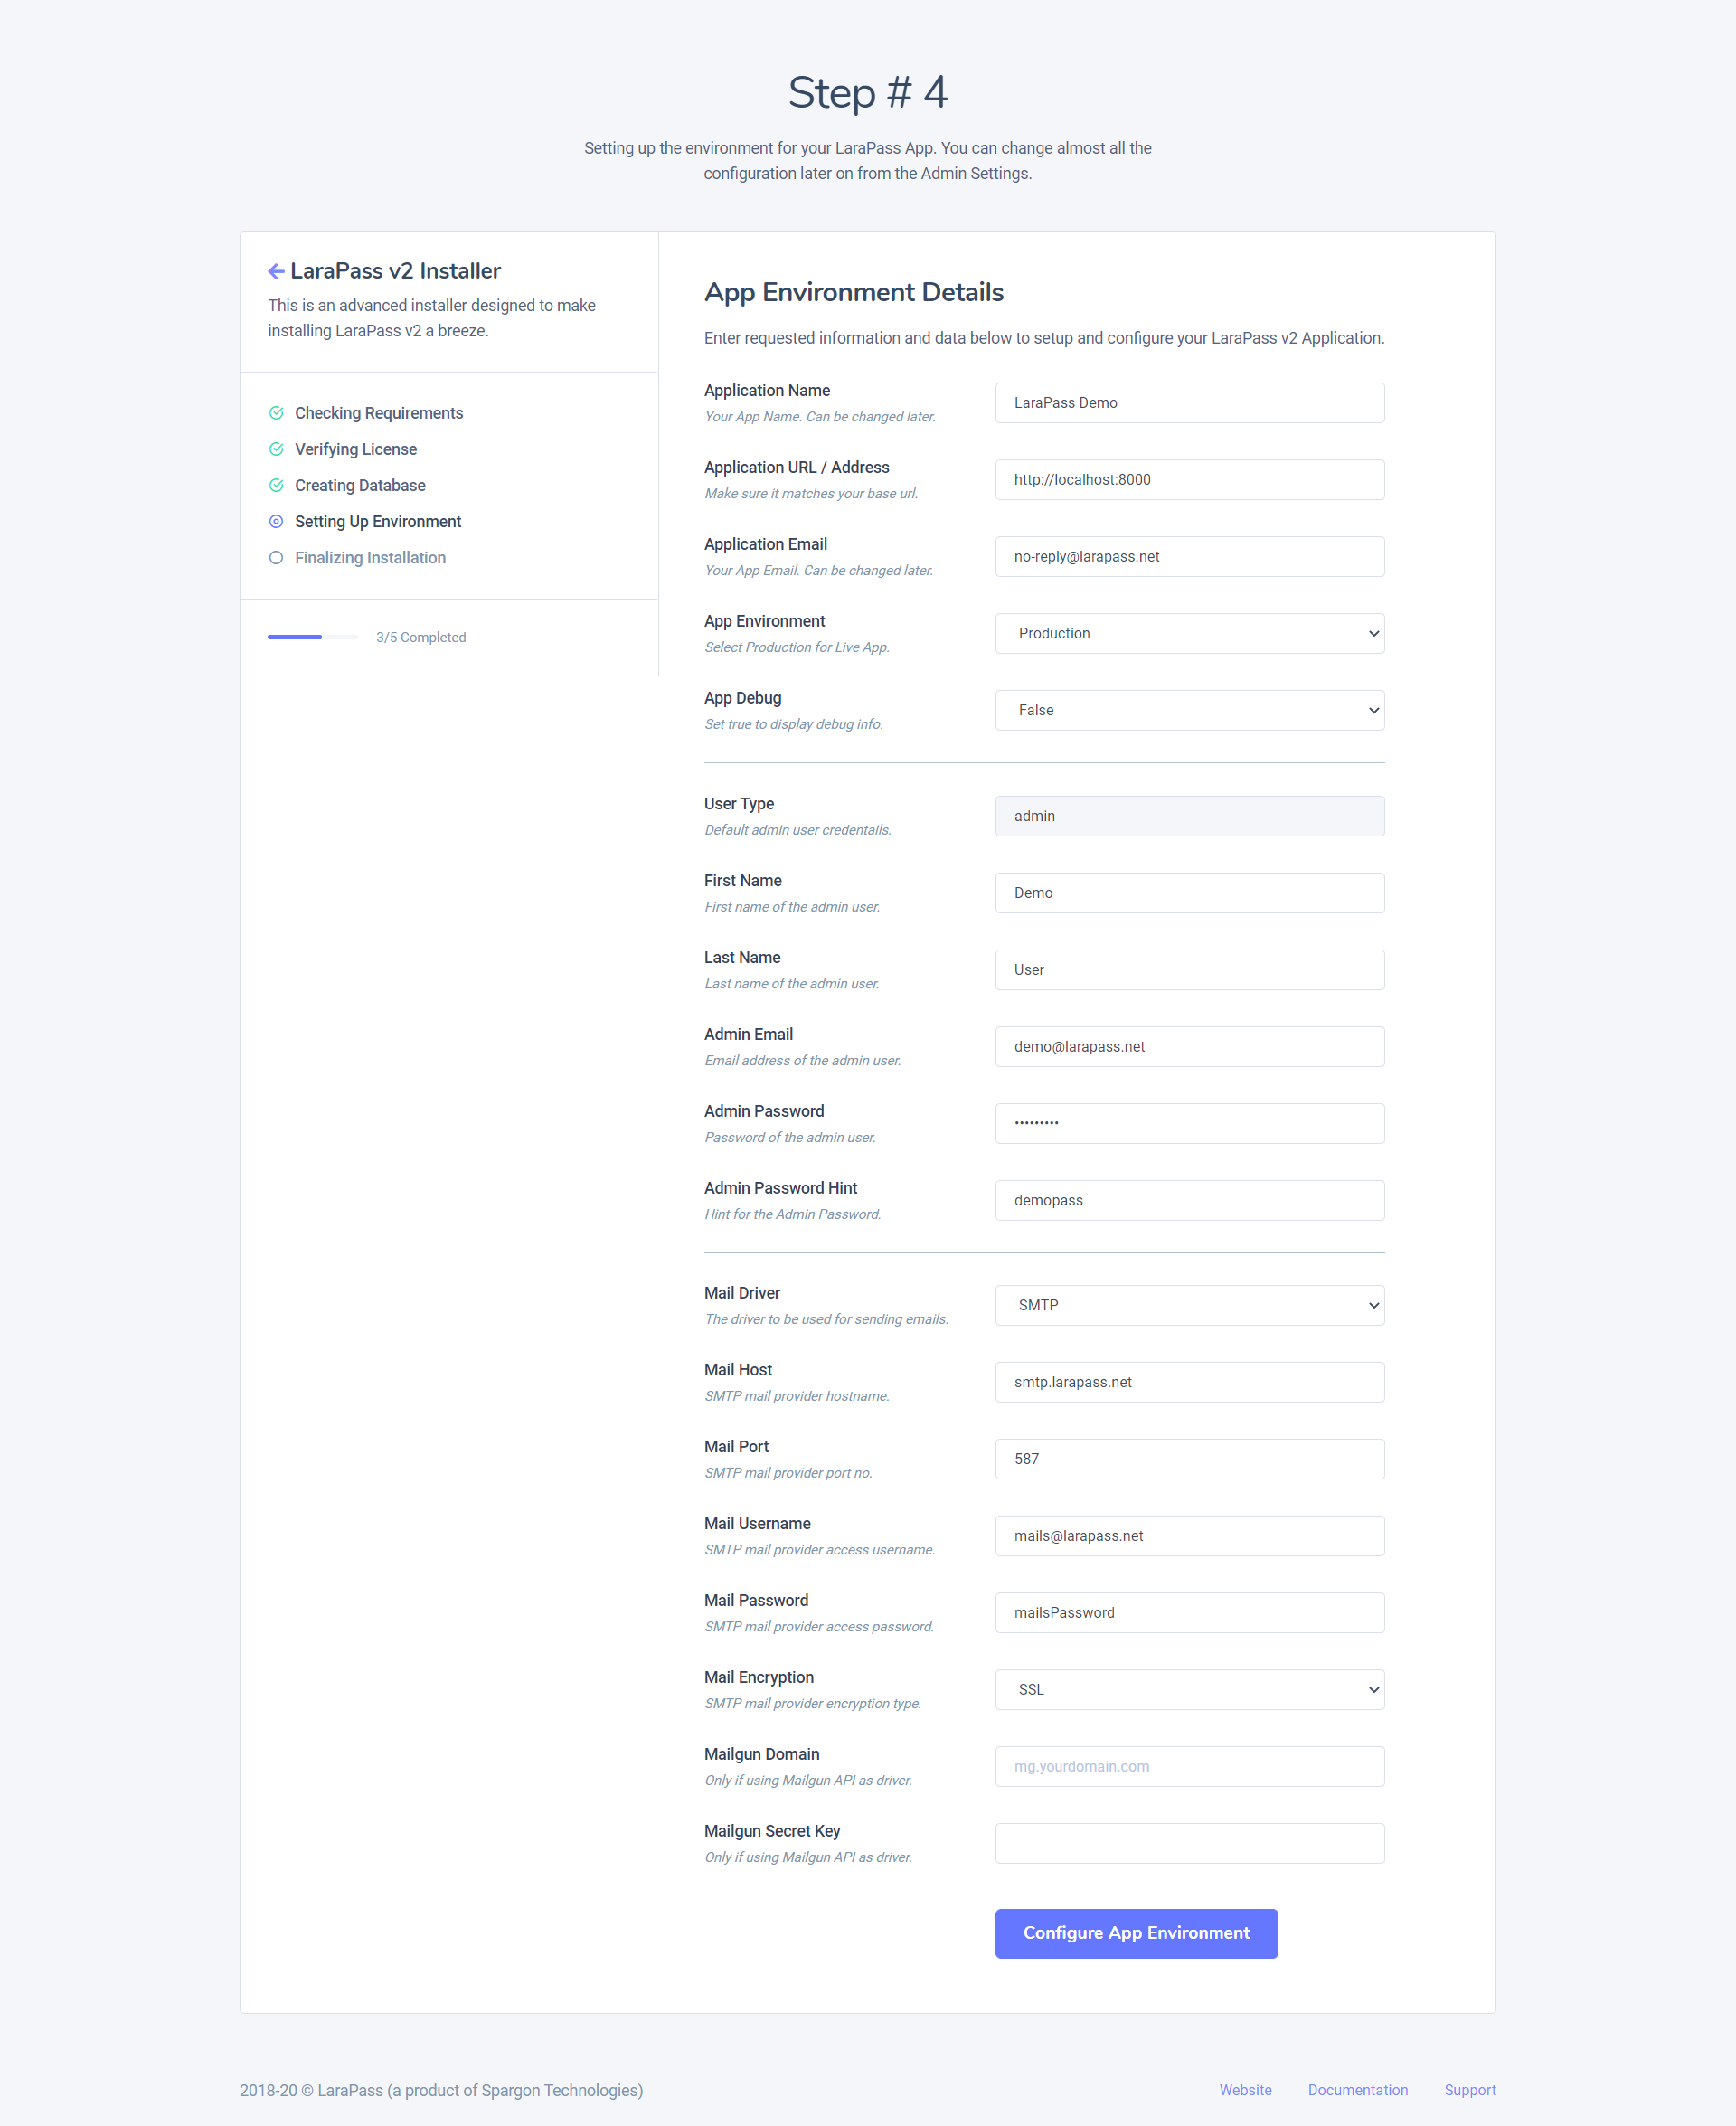
Step # 6 - Setting your LaraPass v2 Environment - here you can setup your app name, email address, environment (production recommended), admin login credentails, and outgoing mail driver (you can setup or modify the mail driver later on from your admin settings page).
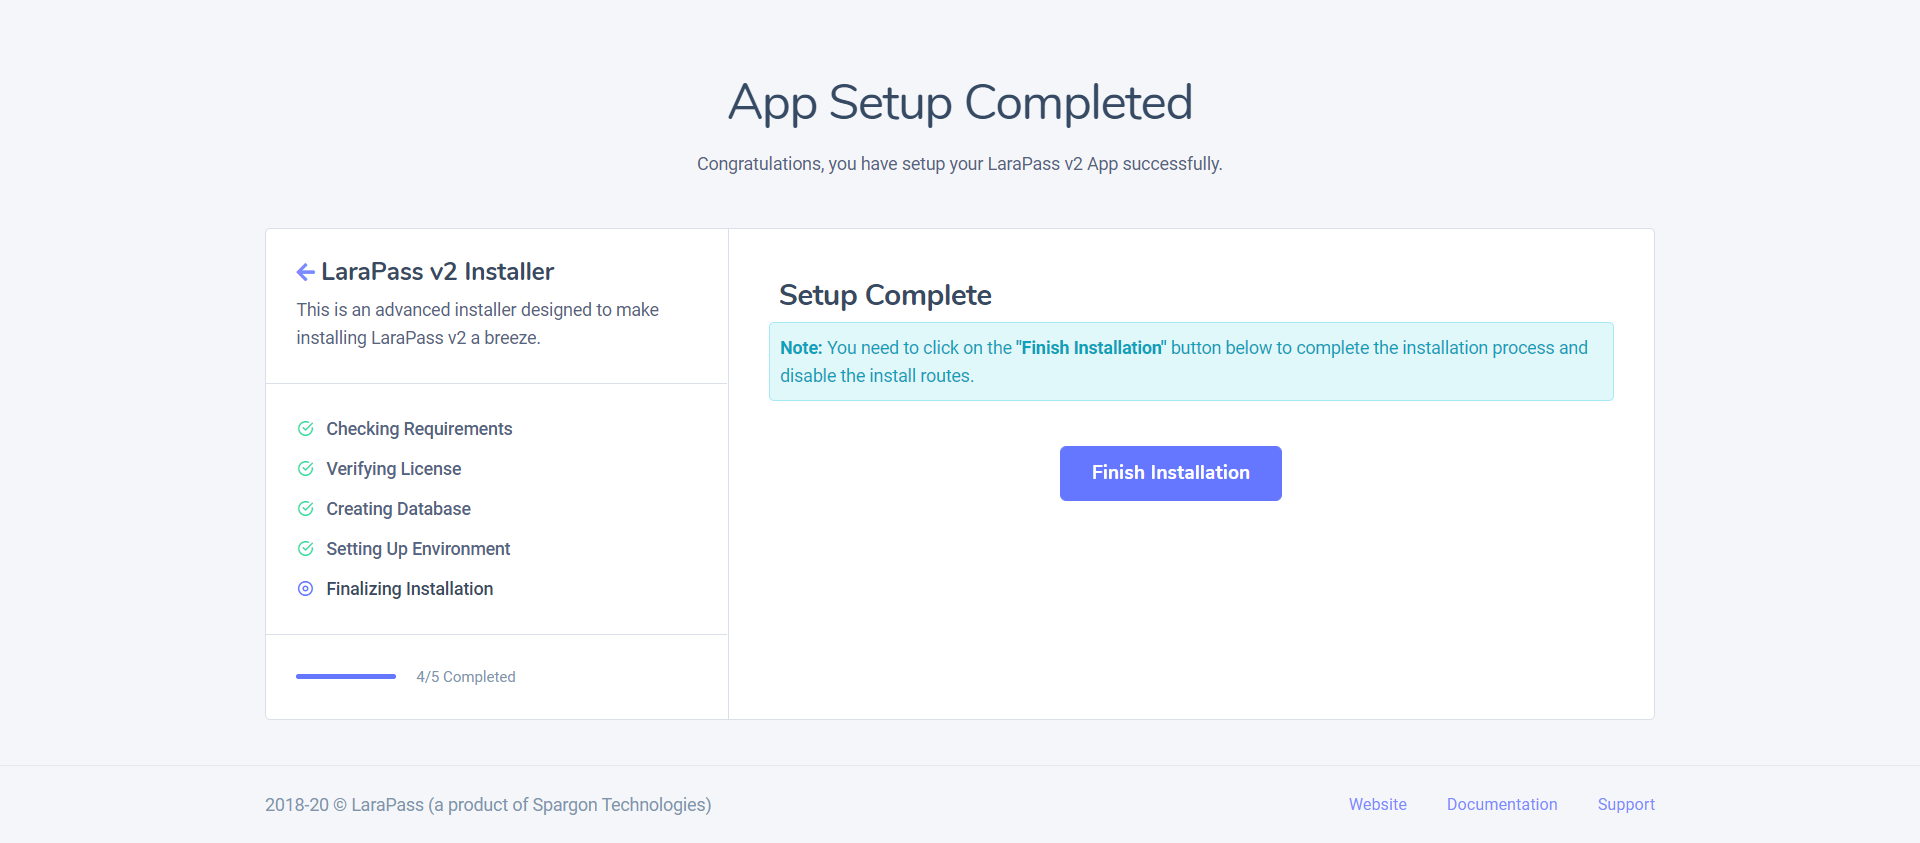
Step # 7 - Finally, you need to click on the Finish Installation button to finalize the app and remove the installer route. You will then be redirected to the login page, where you can login using the admin email and password you used.
This completes your LaraPass v2 Personal Version Installation process. In the next step we will learn more about configuring your app using your custom logo,etc.
Installation Demo Video
You can watch and follow through our demo installation video on youtube for a quick look at how easy & simple it is to install LaraPass v2 on your server.
